Meetings in Vryno CRM
What are Meetings?
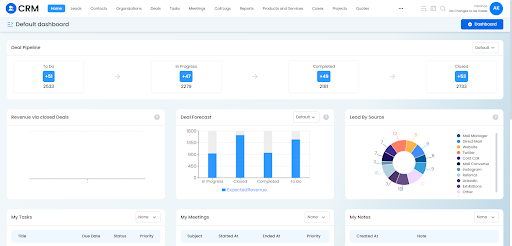
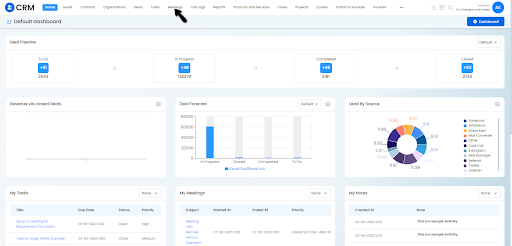
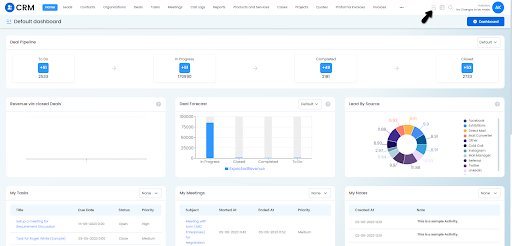
Meeting is an activity that happens at a given place and time. They are listed in the Vryno CRM's Home page of the user, Calendar and in other related records.
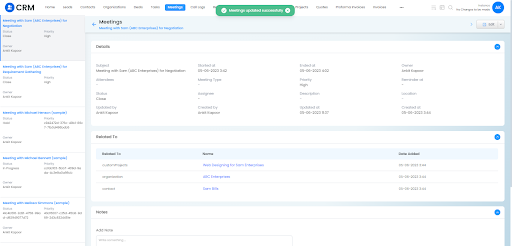
Important Fields in Meetings
Subject: Title or Topic of the meeting
Started At: Meeting start time in Vryno CRM
Ended At: Meeting end time in Vryno CRM
Status: Indicates the current stage or state of the meeting in Vryno CRM
Owner: Designated individual responsible for the meeting in Vryno CRM
Assignee: Designated person responsible for tasks/actions assigned in the meeting
Related To: Links the meeting to a related record or entity in Vryno CRM
How to Create Meetings in Vryno CRM
There are three ways to create a Meeting.
From the Meetings module
Using Quick Create
By Bulk Import
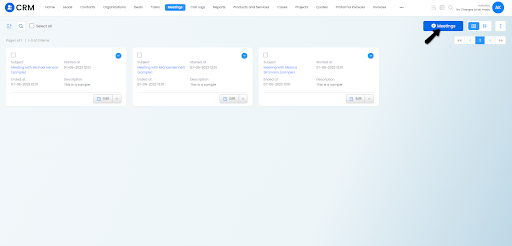
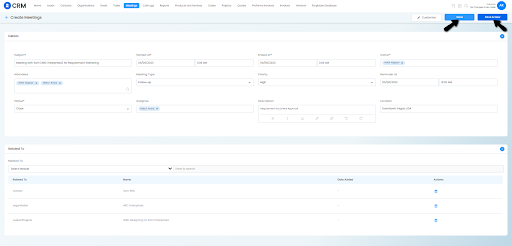
How to Create a Meeting from Meetings Module
Step 1: Log in to your CRM account
Step 2: Click on Meetings on the Top Menu Bar
Step 3: Click on “+ Meeting”
Step 4: Fill the required details & click on Save to save the record or Save & New to continue creating more Meetings
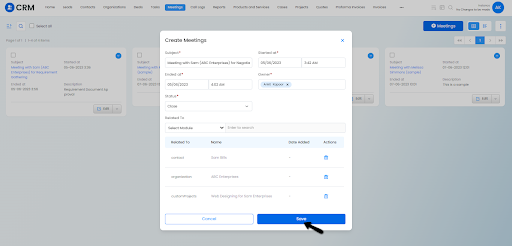
How to Create a Meeting Quick Create
Quick Create is a handy option for creating records from anywhere in the CRM. You can identify Quick Create by the + icon on the top bar of your CRM screen.
Follow these steps to create a contact using Quick Create:
Step 1: Log in to your CRM account
Step 2: Click the + icon and choose Meeting
Step 3: Fill the details and click on Save
How to Create Meetings from Bulk Import
You can import multiple Meetings at once using the Bulk Import Feature of Vryno CRM.
To learn more, click here
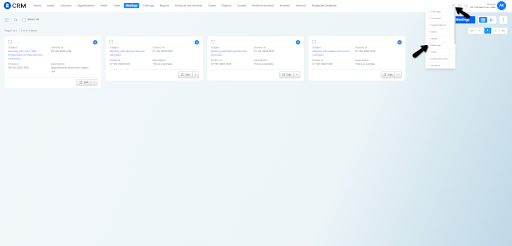
Meetings Module Views
You can view Meeting module in three ways:
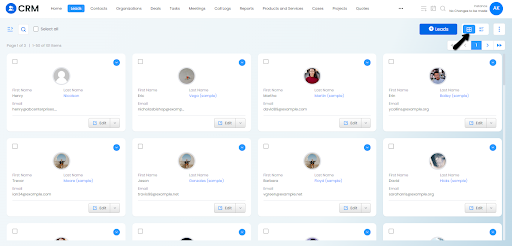
1. Grid View
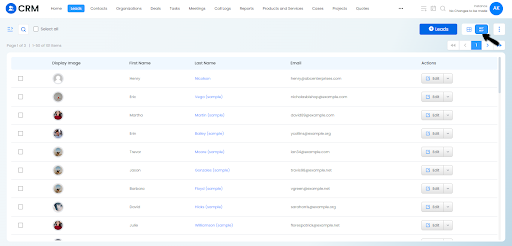
2. List View
3. Kanban View
How to Update/Edit Records in Meetings Module
There are three ways to editing records in Meetings Module:
1. By Editing Individual Meetings
Step 1: Log in to your CRM account
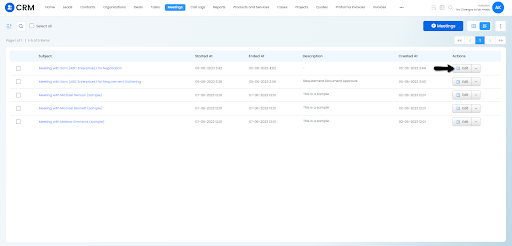
Step 2: Click on Meetings on the Top Menu Bar
Step 3: Click on the edit button next to the Meeting you want to update
Step 4: Navigate to the field you wish to update and make the required change
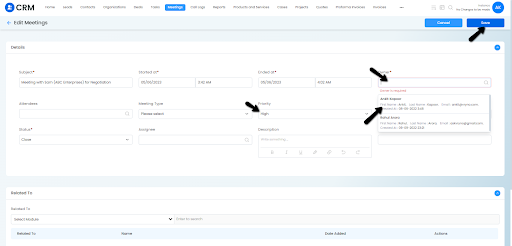
Step 5: Click on Save
2. Through Mass Update
Step 1: Log in to your CRM account
Step 2: Click on Meetings on the Top Menu Bar
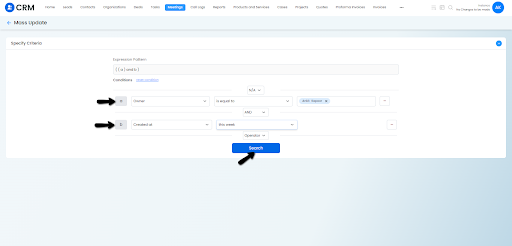
Step 3: Click on the three dots on the Top Right Corner of the screen and click on Mass Update

Step 4: Choose the conditions on the basis of which you want to search for records that need to be updated and click on Search
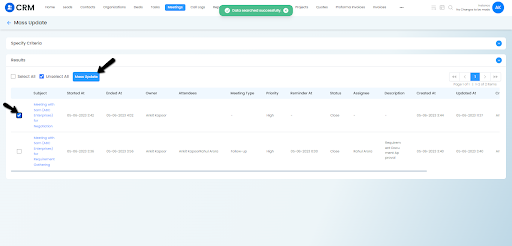
Step 5: Choose the records for which you would like to update and click on Mass Update
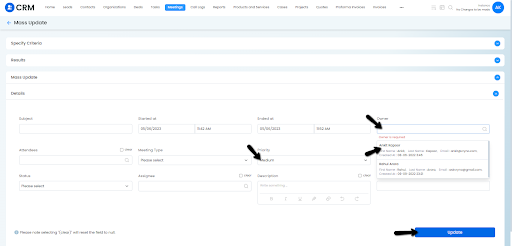
Step 6: Make the necessary updates and Click on Update
3. Through Bulk Import
You can update multiple Meetings at once using the Bulk Import Feature of Vryno CRM.
To learn more, click here
Mass Deleting Meetings
Follow these steps to mass-delete meetings:
Step 1: Log in to your CRM account
Step 2: Click on Meetings on the Top Menu Bar
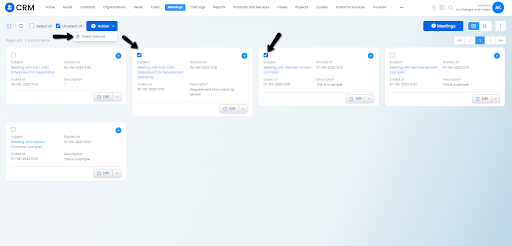
Step 3: Select the record/s that you want to delete by clicking on the checkbox next to them, click on Actions on the top and choose Delete Selected
Step 4: A dialogue box will appear in front of you for confirmation, click on Delete to delete the chosen records
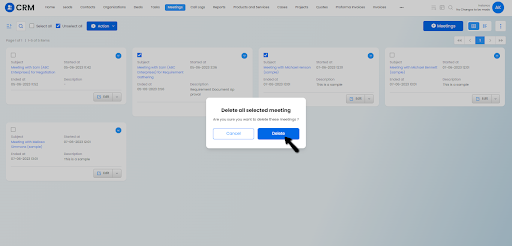
These records move to the recycle bin that can be restored if required later
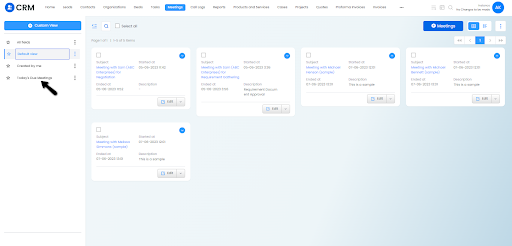
How to create Custom Views in Meetings Module
Follow the below steps to create Custom Views in Meetings Module
Step 1: Log in to your CRM account
Step 2: Click on Meetings on the Top Menu Bar
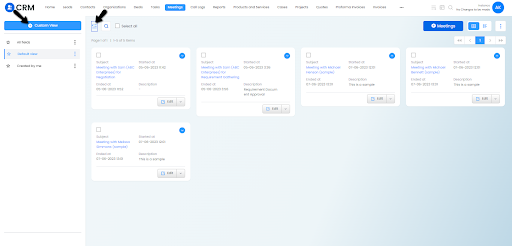
Step 3: Click on the three lines on top left corner to access Custom Views & Click on +Custom View
Step 4: On the left side, Enter the name of the Custom View, below that choose the fields you would like to see in the module view from the Available Fields section and Click on the arrow pointing to the right side to bring them to the Selected Fields section
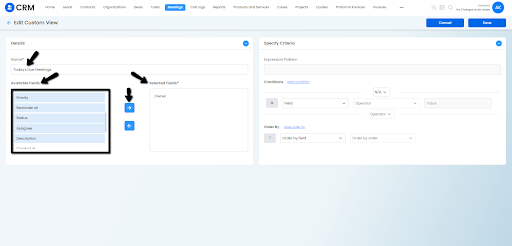
Step 5: On the right side, set up the conditions and Order for the records, you can also setup relation between two conditions like AND, OR, AND NOT, & OR NOT
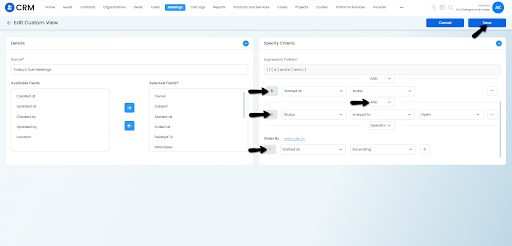
Step 6: Once done, Click on Save